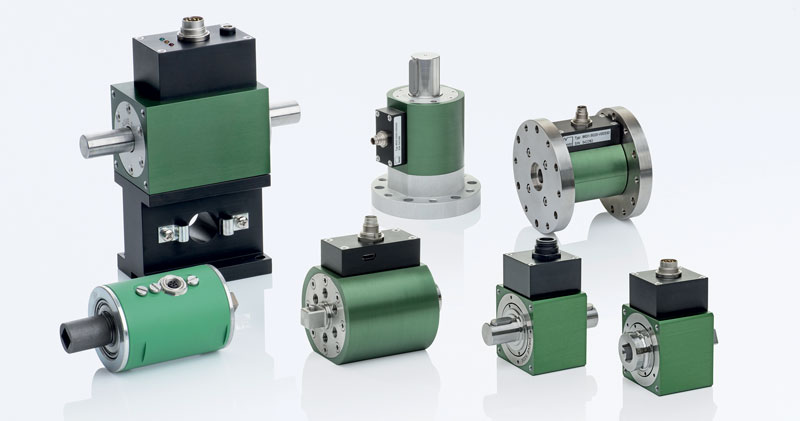
From Assembly to Quality Control: the Torque Sensors
Burster sensors measure torques, starting from the smallest ones up to 1,000 Nm per engine test. They are equipped with DigiVision software that allows you to read, graphically display and store up to 1,000 measurements per second.
by Tommaso Albrile
Torques have to be measured in both production and assembly, and also in quality control. Burster, specialized in precision measurement technology specialists, offer a range of sensors starting with the smallest torques of a few tenths of one Nm, for example for quality assurance of rotary switches, all the way up to torques of 1,000 Nm for testing engines. Common to all measuring ranges is a very low linearity deviation of less than 0.05 % of full scale.
The specialists also offer solutions for special tasks. These include dual-range sensor models with high precision in both measurement ranges. For example, this means that a low steady-state load torque can also be measured with the best possible accuracy on test specimens that have a high starting torque. The sensors’ robust construction and optional features such as a tare function or filter and average value settings can open up further applications, including in price-sensitive or difficult conditions.
Sensitive measurements and high range
The model 8661 torque sensor is available in different sizes, beginning with sensitive measurements of 0 to 0.02 Nm, for instance to determine a breakaway or friction torque, and for speeds up to 25,000 rpm. The largest size can measure up to 1,000 Nm. It is therefore suitable for performance testing large engines and gearboxes.
The model 8625 high precision torque sensor is designed for both static and dynamic measurements on non-rotating applications. With the integrated amplifier option, the sensor directly supplies a voltage signal of 0…±10 V that is proportional to the torque.
Analogue or USB signal
In-house manufacturing enables individual modifications to both the mechanics and the electronics. Special OEM requirements can be quickly implemented. A mounting block simplifies alignment so it is easy to change the sensor frequently.
The measured values – torque plus angle and speed measurement, depending on the model – are output as an analogue signal with 0…±10 V DC or via USB. The DigiVision software allows up to 1,000 measurements per second to be read out, displayed graphically, and stored. Alternatively, drivers are available for integration into LabVIEW, DASYLab or proprietary software. With DIGIFORCE process control units, measurement programs for various processes can be implemented flexibly. All torque sensors can be supplied with DAkkS/WKS calibration certificates.

