Perfect Finishes in the Grinding Sector
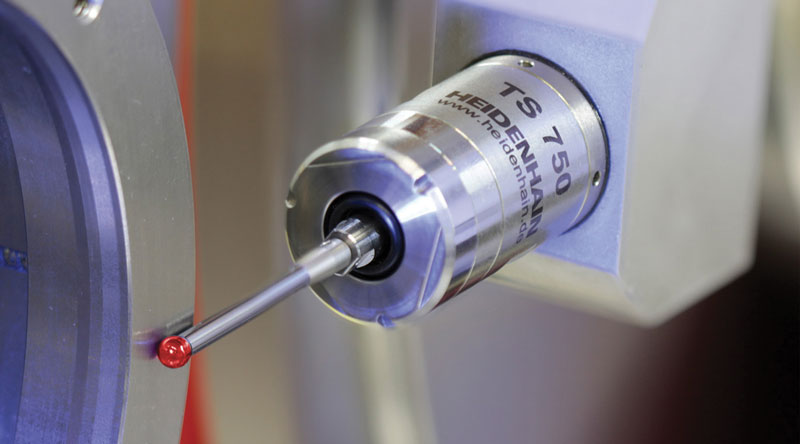
Compact, highly accurate, durable, and robust for in-process quality inspections in grinding machines: these are the main features of the TS 750 workpiece touch probe from Heidenhain, that can guarantee a 360-degree probing accuracy
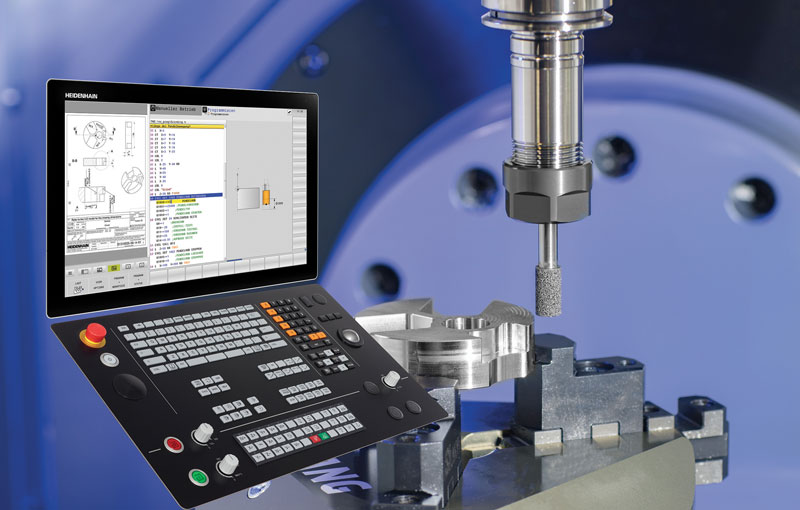
The main goal in the grinding sector is to obtain perfect finishes. But this calls for secure mastery of grinding processes as well as in-process inspection of the machining progress. To satisfy the needs of this sector, Heidenhain has developed new solutions: the robust, TS 750 workpiece touch probe and the new grinding functions of the TNC 640 control.

Inspect surfaces and machining progress
The new TS 750 is a high-accuracy workpiece touch probe for grinding machines. It features compact dimensions (only 25 mm in diameter) and high probing repeatability (2σ ≤ 0.25 µm). Reaching speeds of up to 1 m/min, the touch probe permits rapid part inspection without lengthy downtime.
The touch probe’s standard M3 thread accommodates a variety of styli for easy adaption to the given measuring task. During probing, the stylus is deflected upon contact with the workpiece. This deflection is detected by multiple pressure sensors arrayed between the contact plate and the touch-probe housing. The triggering pulse is generated using force analysis, and calculations based on the resulting signals are performed in order to obtain the switching signal. This procedure enables extremely homogenous, 360-degree probing accuracy aided by low radial probing forces of only around 0.2 N. Thanks to these relatively low forces, high probing accuracy can be achieved with virtually no adverse effect on the measured object. Nor does the probing procedure have any effect on the measurement results. Designed to handle millions of probing cycles, the pressure sensors exhibit a particularly long service life. Inside the machine’s workspace, the TS 750 is protected by two overlying bellows that shield the sensors and electronics from swarf and cooling lubricant. The outer bellows, which are most exposed to contamination, can be easily replaced when grime gains the upper hand.
A wide array of mounting options and other technical features
The Heidenhain TS 750 touch probe can be adapted to a variety of machine configurations thanks to its wide array of mounting options, including different mounting bases for machine installation, as well as adapters and extensions for the M16 fastening thread. The TS 750 is also mounting-compatible and readily interchangeable with the TS 150, which features a similarly wear-free optical sensor. In this scenario, only the measuring head needs to be switched out. All of the electronics, cabling, and mechanical interfaces of the TS 150 can be used for the TS 750. Rounding out the TNC 640’s milling and turning capabilities: the Heidenhain control is set to enable mastery of grinding operations for exceptional surface quality in a single setup.

